DECOUPAGE TECHNIQUES - COLOURING THE CUT EDGES OF YOUR PRINTS
Colouring the cut edges
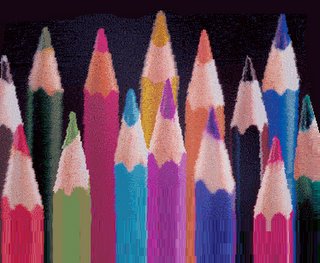
After you have all the prints glued down and you are happy with the design there is one very important step to follow before you seal your prints. Check once more to see if any white cut edges are showing. For this step you will need a few soft coloured pencils or Chinagraph Pencil in muted shades, to match your prints and blend in with the background. Colours darker than the prints are best.
Take your object into an area where there is good light such as near a window, in the garden or under a good bright light. Now search with your eyes carefully for every little bit of white where the paper was cut and colour it in with a pencil that will match the design. If your prints are very diverse in colours you may need quite a few different pencils. If your prints are mostly dark you may get away with just using a black Chinagraph pencil.
Take time with this step as it will really improve the look of your finished item.
When you are finished working on it by the window. Take a rest and then take it to a different light source and check and colour again. At different times of the day, and in different lights different things show up ... so take your time. When you are happy with this step you can start sealing the prints.

No comments:
Post a Comment
Note: Only a member of this blog may post a comment.